Magento XML Layout Update Cheatsheet – Brilliant timesaving tips!
Update: Since Magento 2.3.4 the use of Magento XML Layout updates has been somewhat squashed to prevent security breaches. A bit of a bummer as they now force you to make your layout changes as theme change and this requires a developer. A bit of a blow if you ask me as being able to do some small changes without needing a dev was really appealing to me. We’ll find a solution or some ways round this so keep subscribed and we’ll keep the tips and tricks flowing.
One of the great things about Magento 2 is the ability to make changes in the code without needing a developer using Magento XML Layout. SAY WHAT!!!
Layout updates aren’t the easiest thing in the world to understand but when you have a cheatsheet like this one of useful snippets you can copy and paste it becomes a lot easier.
This post rounds up a series of articles that have been released and gives you a handy cheatsheet page you can bookmark and come back to time and time again.
Each little how-to section will give you
- A before shot
- An after shot
- The layout update XML
- A couple of ideas why you might want to do this type of layout update
Magento XML Layout Updates – In brief
A layout update is a small bit of code written in XML format that instructs the Magento CMS to look in a particular section of the page and either pick up or put down another piece of code. In each of the how-to sections below I’ll write out what each of the Magento Layout Updates are doing in a human way so they are more easy to understand.
So let’s get going
For all examples in this guide of XML updates you will need to:
- replace block_namespace_here with a custom name for your block such as custom.product.message. This can be anything really that follow this format but try and keep them the same across your site when they are doing the same thing.
- replace block_identifier_here with the block identifier (the ID of the static block)
Where to add the code
Whether you are doing a Magento XML Layout update on a category, product or CMS page you’ll be looking for a box that looks like this one to make your edits. You can do layout updates on pages, products and categories.


How to add a static block after a product title in Magento 2
- Create the static block you want to add after the title. When asked to give the block an identifier add something unique this will replace
block_indentifier_herein the code below. - Use this code to add the block remembering to change the block identifier and giving the layout update a namespace such as
custom.product.title.after
<referenceContainer name="product.info.main">
            <block class="Magento\Cms\Block\Block" name="block_namespace_here" after="page.main.title">
                <arguments>
                    <argument name="block_id" xsi:type="string">block_indentifier_here</argument>
                </arguments>
            </block>
</referenceContainer>
Now you just need to style your contents that you’ve added to your CMS block.
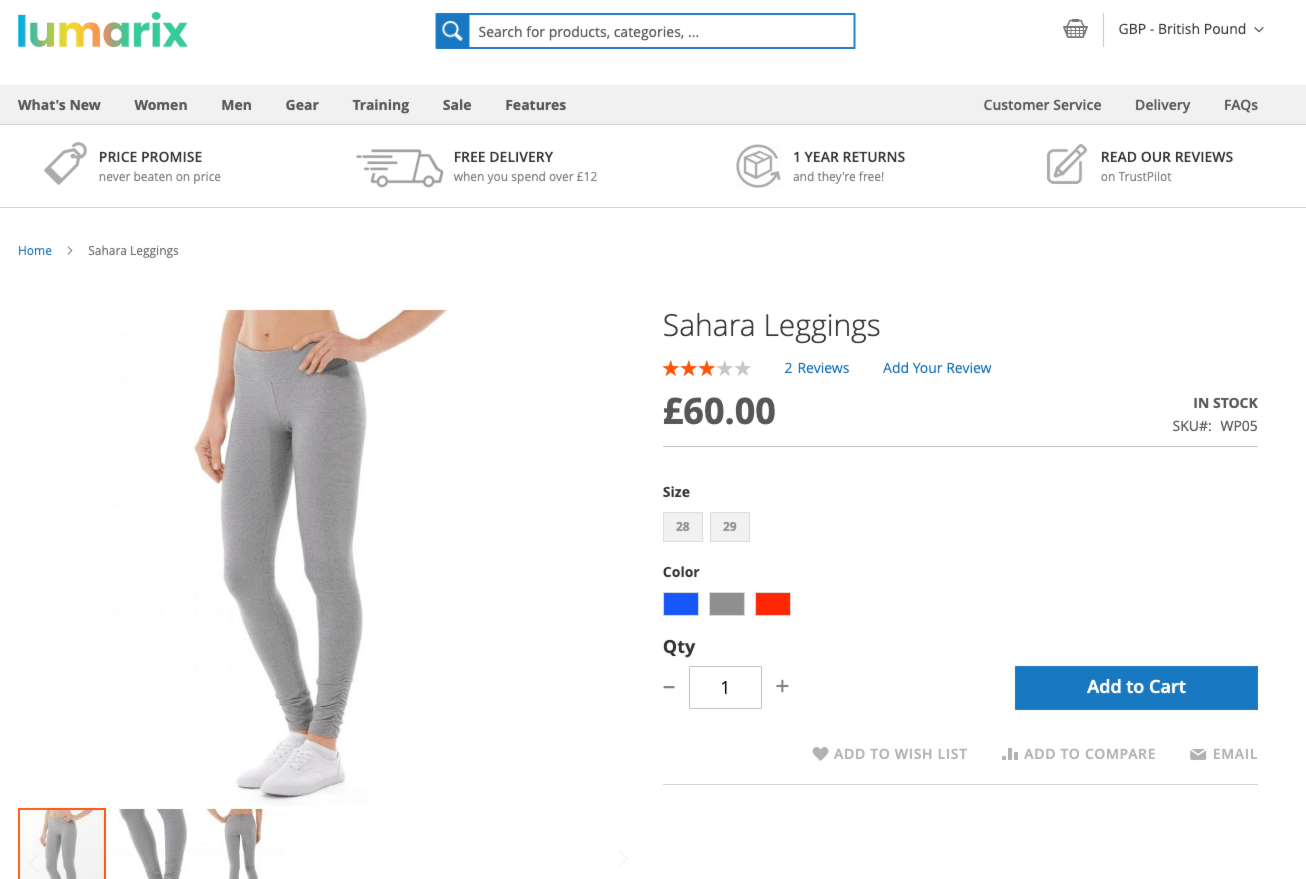
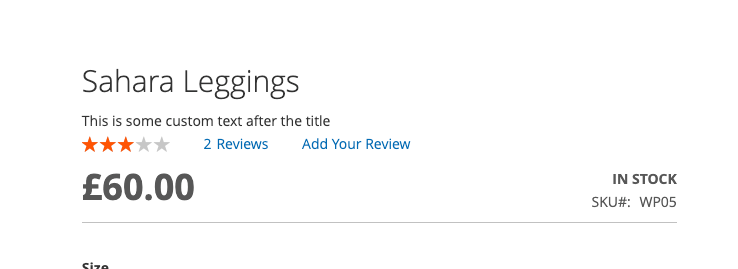
The result of using this Magento XML Layout and adding a static block after the product title is here on our Lumarix Magento Store
Before

After

Uses for adding a static block after a product title in Magento 2
- Stock message
- Supply shortage
- Special offer message
- Link to instruction manaual
How to add a static block after product images on product page in Magento 2
- Create the static block you want to add after the image. When asked to give the block an identifier add something unique this will replace
block_indentifier_herein the code below. - Use this code to add the block remembering to change the block identifier and giving the layout update a namespace such as
custom.image.after
<referenceContainer name="product.info.media">
            <block class="Magento\Cms\Block\Block" name="block_namespace_here" after="-" >
                <arguments>
                    <argument name="block_id" xsi:type="string">block_indentifier_here</argument>
                </arguments>
            </block>
</referenceContainer>
Now you just need to style your contents that you’ve added to your CMS block. In my example below I am using an image as a banner but you could just as well inject anything you can put into a static block including widgets, products, code, text, video and more.
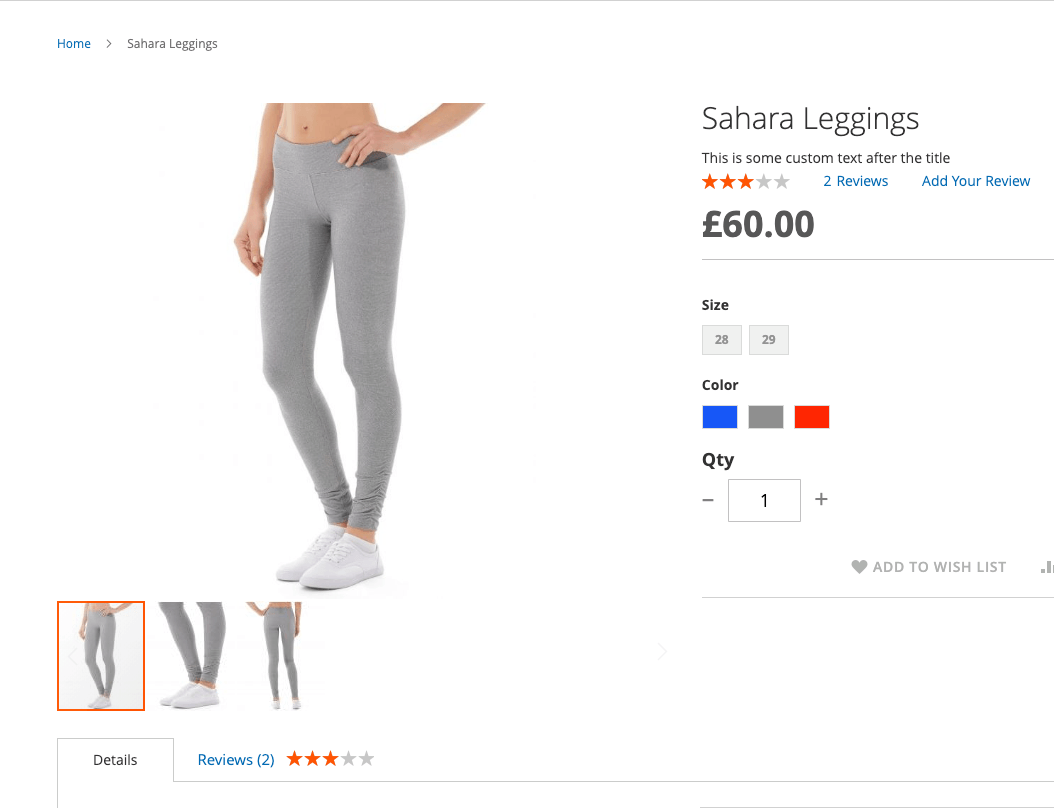
The result of adding a static block after the product image can be found here on our Lumarix Magento Store
Before

After
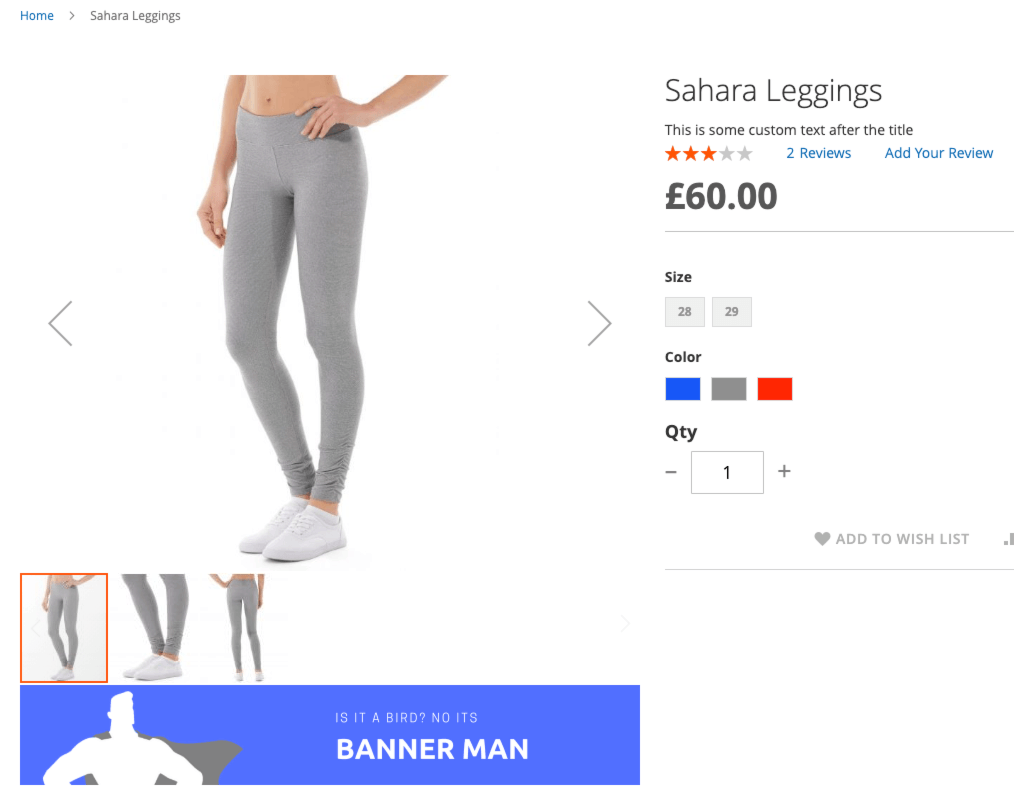

Uses for adding a static block after a product image in Magento 2
- Great for adding promo banners on specific products
- Handy for doing cross sales when you want to use a banner instead of products (although you could add products this same way)
- Great for adding UGC content or an uploader from a service such as Wyng
How to add a static block before product images on product page in Magento 2
Ok so this one is pretty much the same as the last one except we’re going to put the image before the product image gallery.
- Create the static block you want to add after the image. When asked to give the block an identifier add something unique this will replace block_indentifier_here in the code below.
- Use this code to add the block remembering to change the block identifier and giving the layout update a namespace such as
custom.image.after
Now you just need to style your contents that you’ve added to your CMS block. In my example below I am using an image as a banner but you could just as well inject anything you can put into a static block including widgets, products, code, text, video and more.
The result of adding a static before after the product image can be seen here on our Lumarix Magento Store
Before
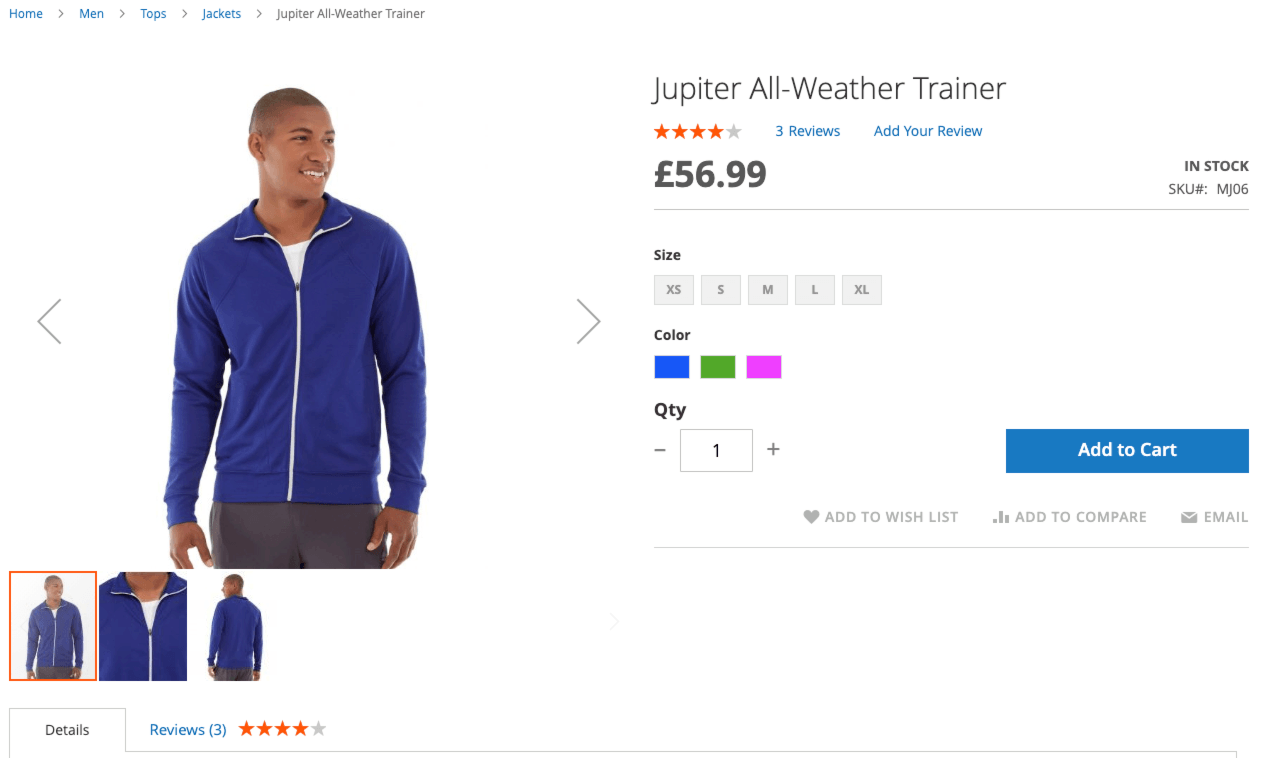

After
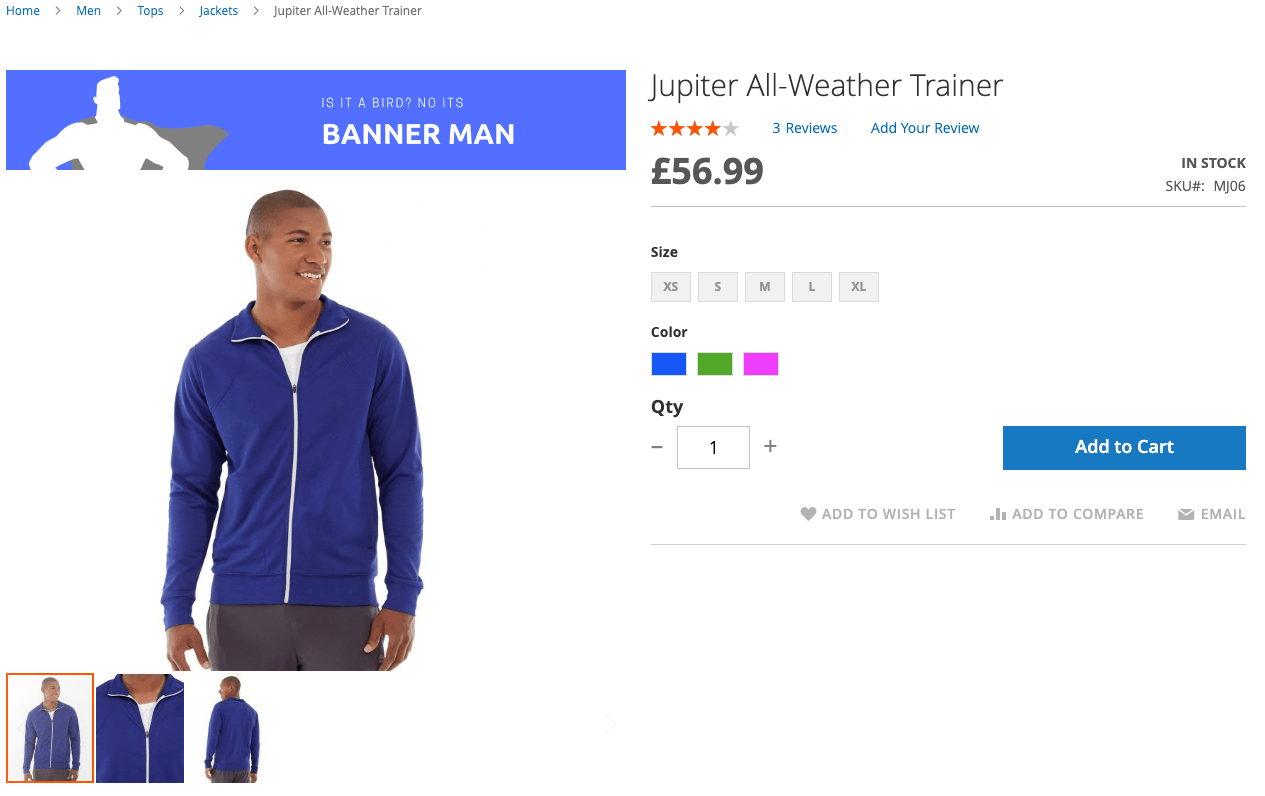

Uses for adding a static block before a product image in Magento 2
- Great for adding promo banners on specific products
- Handy for doing cross sales when you want to use a banner instead of products (although you could add products this same way)
- Great for adding UGC content or an uploader from a service such as Wyng
How to add a static block to the main content of a product page in Magento 2
This one is really handy. You may be wondering how to get a banner or block of text to the top of a product page in Magento 2.
- Create the static block you want to add after the image. When asked to give the block an identifier add something unique this will replace
block_indentifier_herein the code below. - Use this code to add the block remembering to change the block identifier and giving the layout update a namespace such as
custom.image.after
<referenceContainer name="main">
            <block class="Magento\Cms\Block\Block" name="block_namespace_here" before="-">
                <arguments>
                    <argument name="block_id" xsi:type="string">block_indentifier_here </argument>
                </arguments>
            </block>
</referenceContainer>
Before
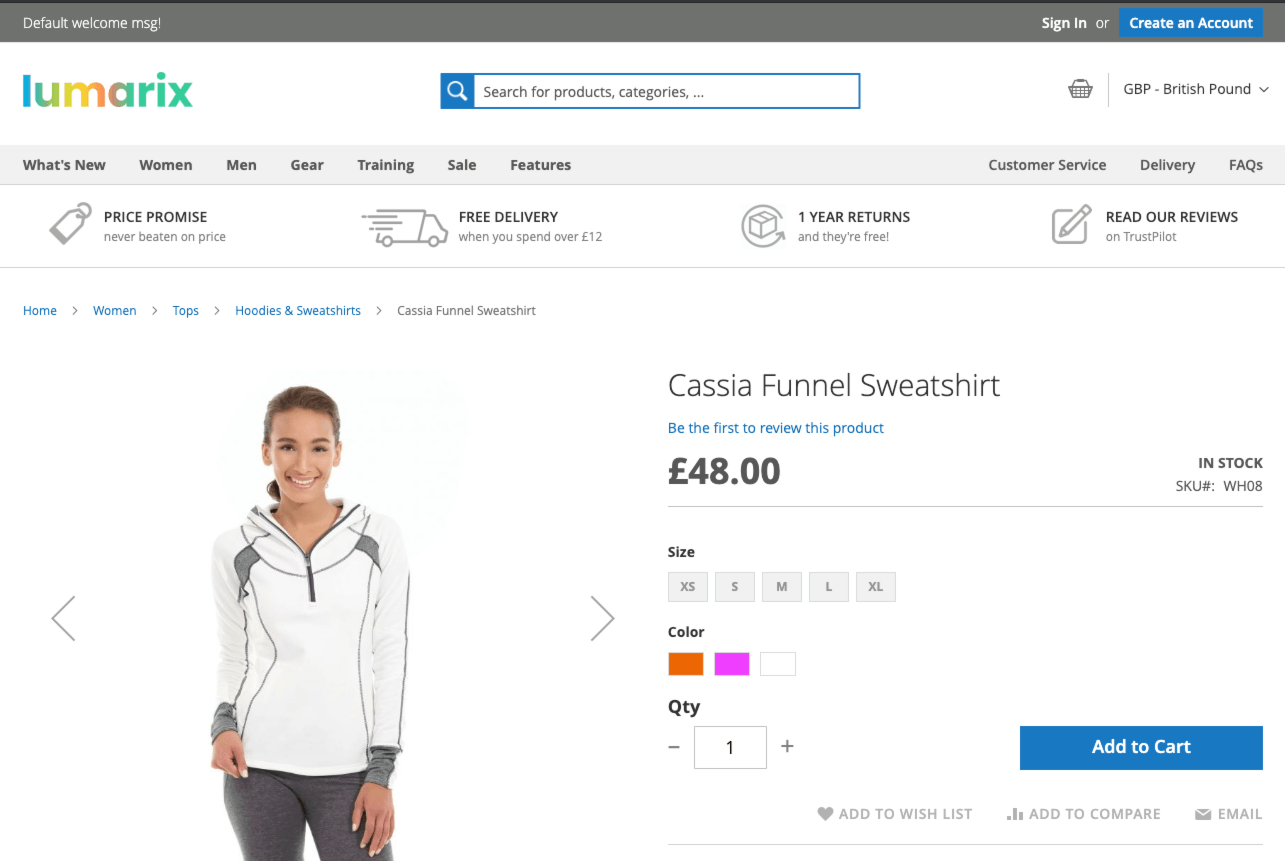

After
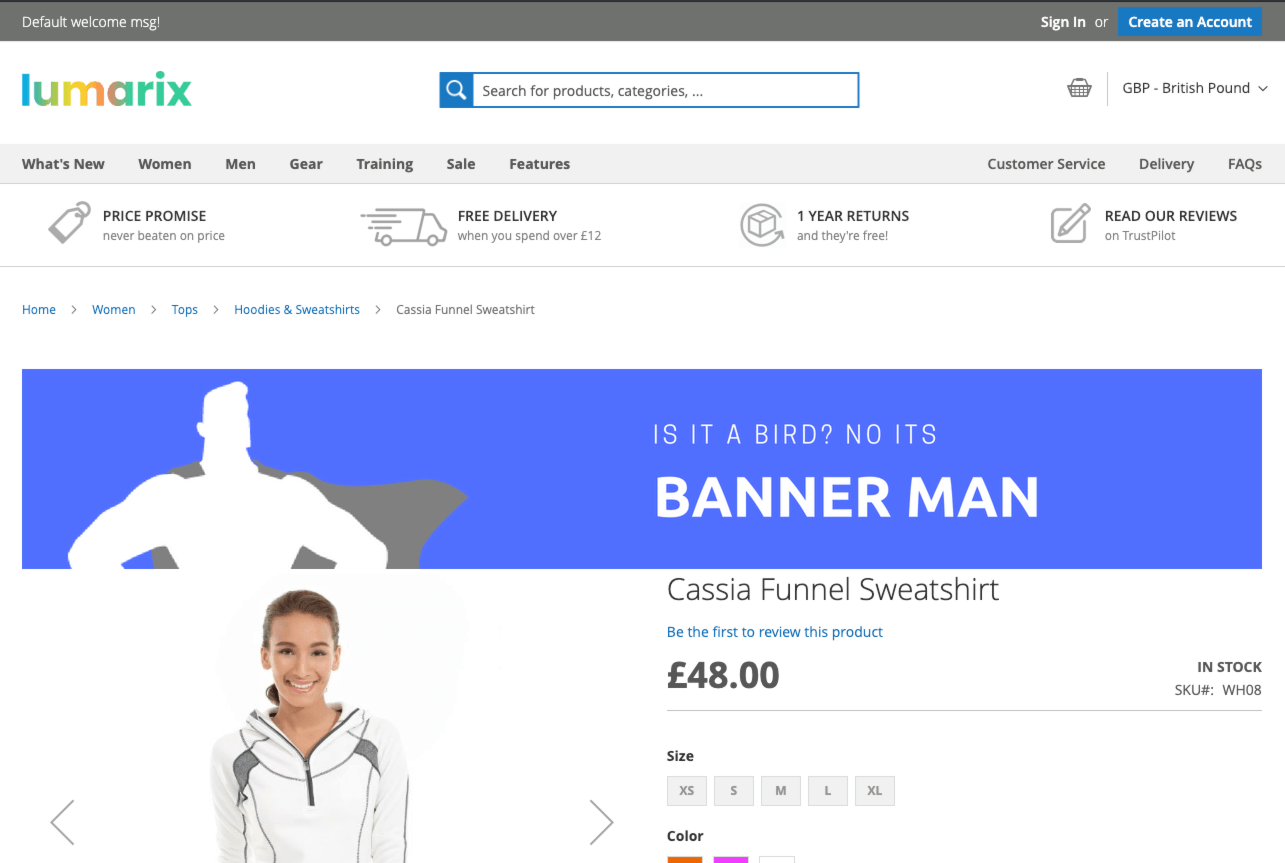

Uses for adding a static block top the top of a product page in Magento 2
- Great for adding promo banners on products
- If you don’t have a banner plugin with rules that can focus tight enough you can manually select a page
- Handy for doing cross sales when you want to use a banner instead of products (although you could add products this same way)
- Use the bulk attribute editor to add a layout update to the top of big selection of page
- Great for holiday messages
How to remove the price from a product page in Magento 2
Maybe you want customers to call you and you are going to tie this layout update in with a custom message. Maybe the item is out of stock and you don’t know what the price will be when it comes back in. Whatever reason you may have you’ll probably want to hide the price in a Magento store without ringing the developers.
- Use this code in the design xml layout update field on the product to remove the price. You can do it on a product by product basis you could use the bulk update attributes feature.
<referenceBlock name="product.price.final" remove="true"/>The result of using this code to remove the price can be seen here on our Lumarix Magento Store
Before
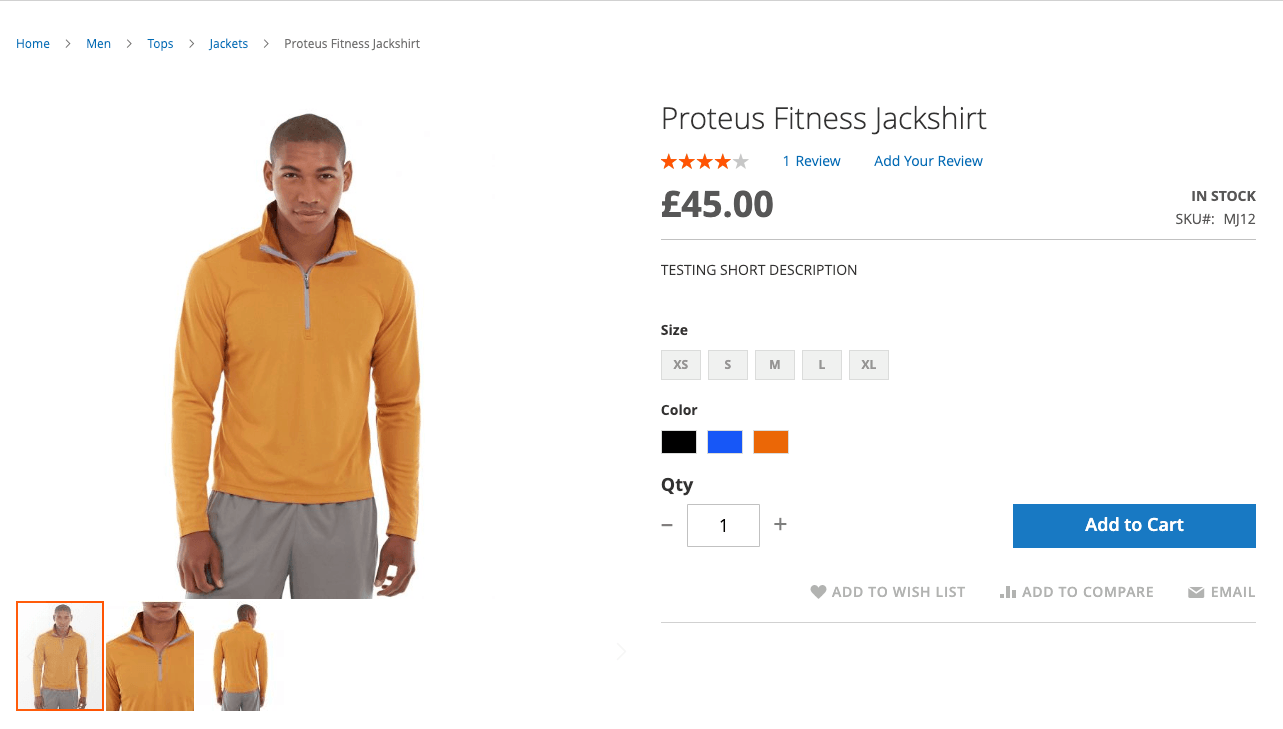

After
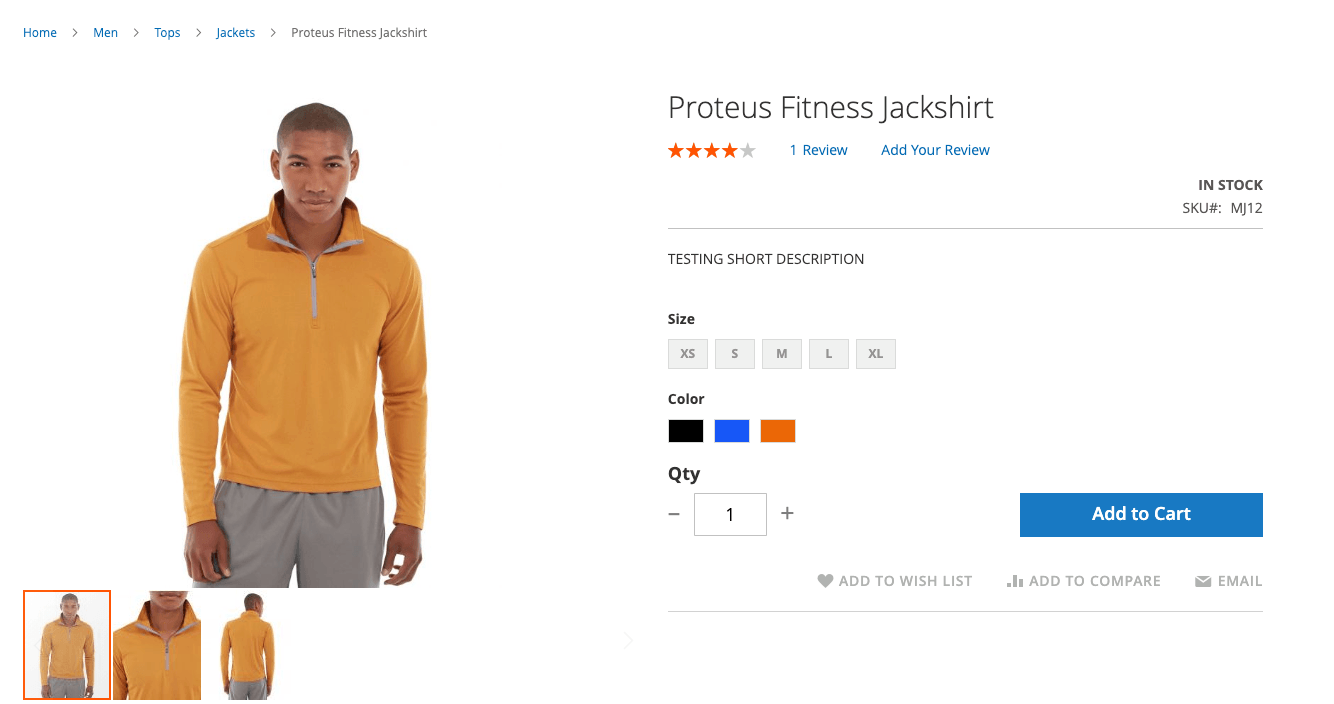

Why remove the price from a product page in Magento 2
- Couple with a message for “Call for price”
- Maybe you are displaying the price somewhere else and don’t need it twice.
- You want people to shop without knowing the price. You know what they say…if you have to ask!
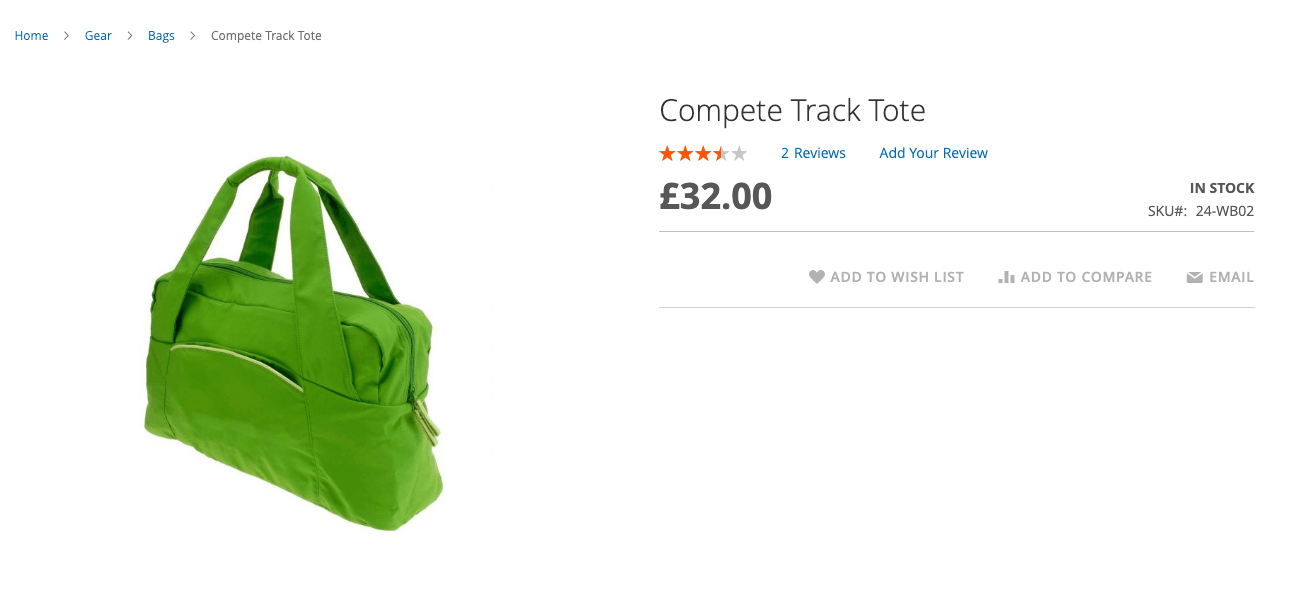
How to remove Qty and Add to Cart from product page in Magento 2
If you want to make a product page so somebody cannot add to the basket and remove the Qty and add to cart buttons this is really easy to do with a simple xml update.
- Use this code in the design xml layout update field on the product to remove the price. You can do it on a product by product basis you could use the bulk update attributes feature.
<referenceBlock name="product.info.addtocart" remove="true"/>The result of using this code to remove the price can be seen here on our Lumarix Magento Store
Before
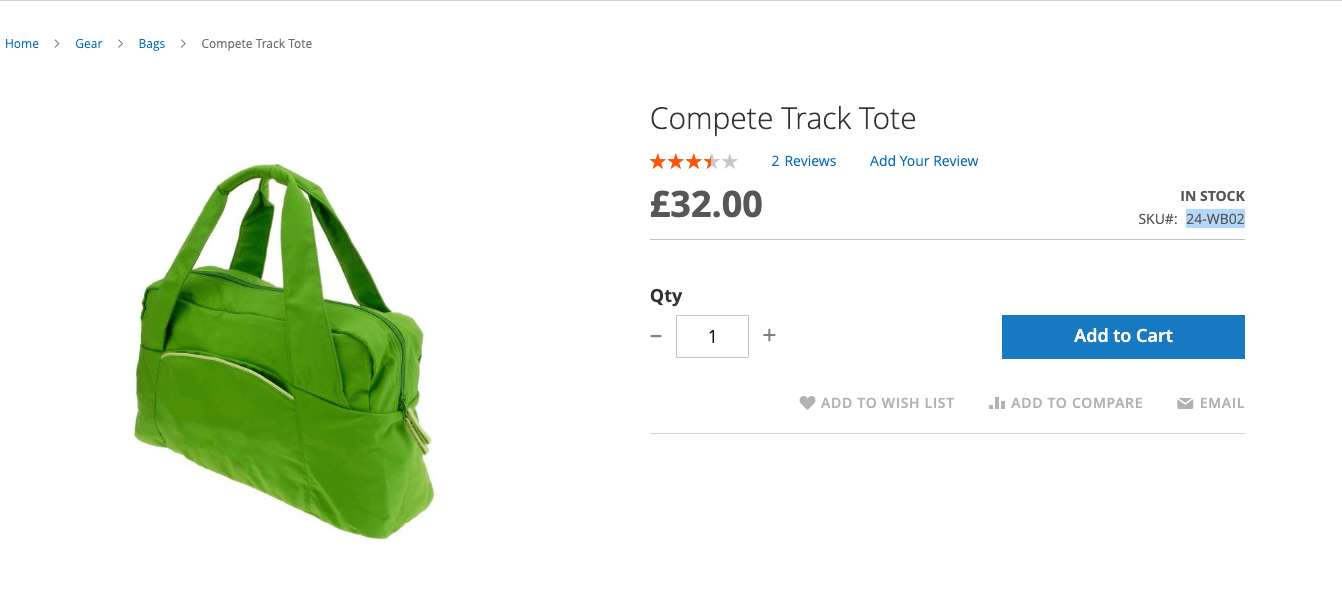

After

Why remove the price from a product page in Magento 2
- Get customers to call to place orders
- Make a brochure only section of your website
